
Yes, you can often put a water-based finish over sound oil-based paint. The key is to check what’s already on the surface, prepare it properly, and use a primer and finish that are compatible. If the old paint is peeling, find out which layer is letting go before deciding how to repaint.
This comes up when homeowners want to update glossy baseboards, window trim, doors, or cabinets. The existing finish may look smooth enough to paint right away. But a fresh coat can cover the old color and still fail to bond. Here’s how to tell what your project needs before you buy paint or compare estimates.
Gloss Is a Clue, Not a Paint Identification
Older glossy trim may have an oil-based finish, sometimes called an alkyd enamel. But water-based enamels can be glossy, too. If you have a labeled leftover can or a record of the last paint job, start there.
On a suitable surface, a painter may use an alcohol rub as a preliminary check. Some water-based finishes soften or transfer when rubbed with alcohol; a conventional oil-based finish typically resists it. Treat that result as a clue about the exposed coat. It doesn’t identify every layer underneath, and it doesn’t test for lead.
Check whether the old finish is holding
Look at door edges, around knobs, and near the bottom of baseboards. A few isolated dings are different from paint that lifts in sheets. If you see a newer color peeling away and a smooth older finish underneath, point that out during the estimate. It helps the painter decide where to investigate and whether the prep needs to extend beyond the visible damage.
A bonding primer helps the next coat grip a suitable surface. It can’t secure a layer that’s already separating. Loose material needs to be addressed, and the surface that remains has to be sound before the new system goes on.
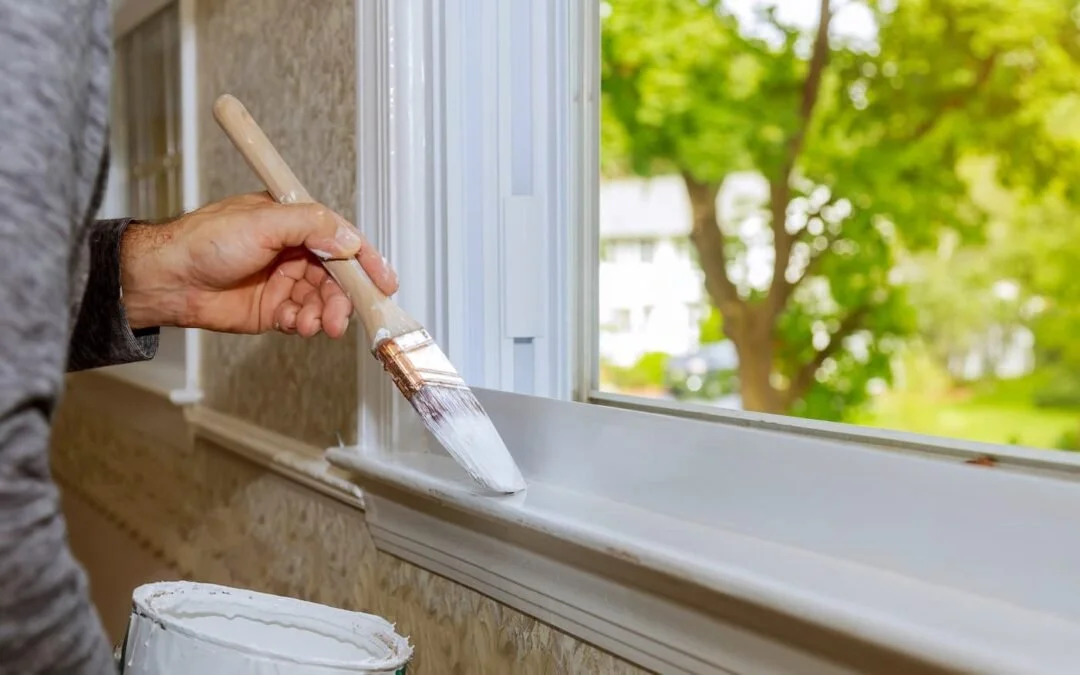
Proper surface preparation is essential when painting over old oil-based paint.
Clean First, then Prepare the Gloss
Think about how the surface is used. Cabinet doors collect cooking grease and hand oils. Trim may have furniture polish or cleaner residue on it. Spend extra attention around pulls, knobs, and other spots people touch every day. Use a cleaner suitable for the surface and follow its directions for rinsing and drying.
Once any lead concerns have been addressed, prepare the sheen as the coating manufacturer specifies. That may mean lightly scuffing the finish to take down the gloss, then removing the dust. The goal on sound trim is to create a suitable surface for the next coat. Stripping everything back to bare wood is a different scope of work.
If your Central Illinois home was built before 1978, discuss lead-safe preparation before sanding or scraping painted surfaces. EPA recommends hiring a lead-safe certified contractor for covered renovation, repair, and painting work.
Choose the Primer and Finish Together
Ask your painter which primer is approved for the prepared surface and which finish can go over it. A waterborne bonding primer can be an option; an old oil-based finish doesn’t automatically require a new oil-based coating. The manufacturer’s technical data sheet is the place to check the approved surfaces, preparation, and time between coats. If the trim is outdoors, confirm the system is rated for that use.
If the finish is uncertain, ask about trying the proposed system in a discreet, representative area. Give it the time the manufacturer specifies before evaluating it. Dry to the touch, ready for another coat, and ready for everyday use are different milestones. For doors and cabinets, ask when they can be closed, cleaned, and put back into regular use.
What to Ask Before Approving a Quote
A useful estimate should answer three questions: What’s staying? How will it be prepared? What’s going over it? Ask the painter to point out any areas that need more than routine prep and explain how those areas will be handled. That makes it easier to compare two quotes that promise the same new color but may include very different work underneath.